Live Connect Datasets
Qrvey Live Connect Datasets enable seamless integration and real-time connectivity with your data sources, ensuring that your analytics and dashboards always reflect the most current information. By leveraging Live Connect, you can interact with your data directly where it resides, eliminating the need for data duplication and complex ETL processes. This powerful feature ensures immediate data availability, enhancing decision-making and operational efficiency with up-to-the-minute insights.
While Live Connect can be used for many scenarios, the most common use is for real-time analytics removing the delay and maintenance of ingesting data or for datasets with frequent deletes without the need to issue delete commands.
Keep these details in mind while using Live Connect Datasets:
- Joins, Unions, and Formulas are not supported. They must be performed in the source (via SQL in Qrvey or other source db methodologies, for example a database view).
- Live Connect only supports the following Data sources: Redshift, Snowflake, and PostgreSQL.
- The performance of objects built on Live Connect Datasets are entirely dependent on the source database so care should be taken with source database design such as partitioning, indexes and keys, as well as monitoring the source for concurrency, auto-scaling, etc.
- Live Connect Datasets can share and use the same Connection sources as Managed Datasets.
Create a Live Connect Dataset
To create a new Live Connect Dataset, follow these steps.
- Click the New Dataset button.
- Choose the Live Connect option from the Data tab.
Any existing connections which support Live Connect will be listed as possible Data Sources.

- Choose a Connection. You have two options:
- Choose an existing connection from the list.
- Click the Create New Connection at the bottom of the window.
This method, rather than going through the Connections tab, limits source selections to those supporting Live Connect.

- Click Next.
- Choose a Database.
For some sources you will need to choose a Schema from a list of tables or views. Alternatively, you can write a SQL Query in order to perform joins and formulas. - Click Save once the data source is selected or the custom query is written and tested. You will be directed to the main Datasets page.
Change the Data Source

- Click the three-dot menu on the data source pill. The following options are available:
- Edit Connection Settings - Modify the properties of the connection, without going to the Connections page.
- Edit Query - Select a different table or view from the same Connection or changing the source SQL query.
- Switch for Another Data Source - Choose a data source from a connection other than the one currently in use.
- Rename - Give your data sources an alias or more user-friendly name.
Change Dataset Columns
Changing the columns in the Live Connect Dataset does not change the query executed for the dataset, it impacts the presentation layer only. Data types are inherited from the source database. To make changes to data types, either change the source object or use the SQL Query option with CAST or CONVERT syntax as appropriate for your source.

- Show/Hide Columns — Uncheck the box to the left of the column. It will be unavailable in any widgets including charts, metrics, and tables.
- Rename Columns — give them user-friendly, descriptive names, for use in Qrvey widgets.
- Change Geolocation — Click the Change Geolocation button to map columns to addresses for map charts.
- Visualization Format — Numeric and date columns can have the default display format changed.
Choose the Visualization Format
The system will pick a format for displaying date and numeric data in visualizations based on a smart algorithm. While this default format can be changed every time that a chart is created based on this data, you can also choose a different format for it at design time. For example, if a numeric data column contains currency data, it may make sense to choose a Currency format for it, which will add the currency symbol before it and format it with two decimal places.

Note: For date type columns you can choose from the pre-defined formats or enter a custom format directly in the field.

Define Column Security Name

If the data in a dataset has to be controlled by Record Level Security or RLS, the columns that play a role in this security have to be identified and given a security name. This name will be used at authentication time and the data will be filtered by the value of the set variable for each authenticated user. The menu item “Enable Record Level Security” in the three-dot menu of each secured column is used to assign a security name to the column. It is important to note that the mere action of giving the column a security name does not in fact “enable” RLS and this has to be done from the Qrvey Admin Center.
For more information, please see Record Level Security.
Automatic Column Links

Any column of the dataset can be set up so that it presents an automatic link to a selected URL when it is used in a visualization. A common use case for this feature is where a column contains a location and you want the column to always link to a map site, showing the location on the map. The automatic link can be set up from the Column Link command in the dot menu of the intended column. For more information, please see Column Links.
Set Up Geolocation Groups
If your data contains address information that you wish to display on any type of map chart, you must create a Geolocation Group out of your desired address fields.


To create a Geolocation Group, you have to map your address data column or columns to the address type fields in the dialog. For example, you may map the data column zip to the Postal/Zip Code field. Although any partial address is enough to create a Geolocation Group, mapping more columns, especially unique columns such as the country, helps create more accurate points on your map charts.
Use Formula Builder with Live Connect Datasets
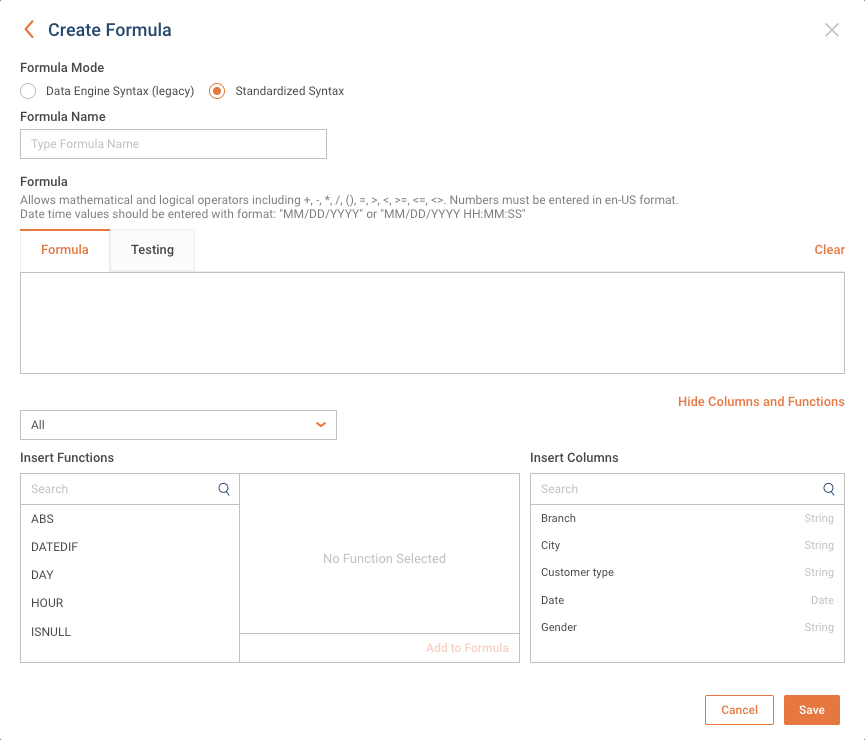
Formula Builder provides two modes for creating formulas:
- Standardized Syntax — (Most Common) This mode enables you to create formulas using a standardized syntax that is compatible with any database connected to the Qrvey platform.
- Data Engine Syntax (Legacy) — Uses the specific syntax of the database.
For more information on Standardized Syntax, see Using Standardized Syntax Mode.
Optimize Live Connect Configuration
The performance of your live connection may vary depending on the size of the dataset and the size of the database cluster. Performance issues may occur if the database cluster is not sized appropriately for the dataset. We recommend that your live connect data source returns results in under 30 seconds to prevent timeout errors.
To ensure optimal performance, scale the infrastructure of your live connect data source by:
- Loading a smaller dataset, if possible.
- Increasing the database cluster.
- Increasing the query timeout of your database engine.